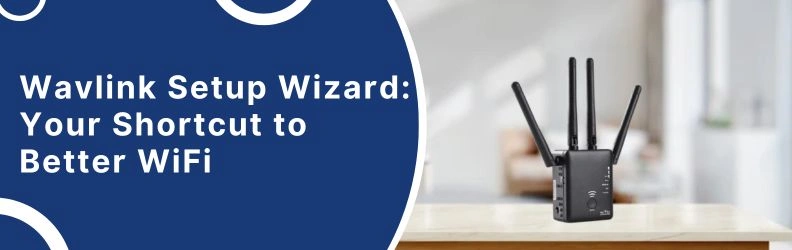
If you have just unboxed a Wavlink extender or router and it is not always as “plug and play” as the box state. Sometimes, the LEDs don’t blink the way you expect or the connection keeps dropping in between. That is where the Wavlink setup wizard comes in. It is the one tool that makes the whole process esay.
In this blog we will go through the steps which helps to improve the wifi based on real fixes that actuall work.
Why the Setup Wizard Actually Matters?
Most of the people try to connect to the extender, open their browser and then look at a “can’t connect” message. The Wavlink designed the Wavlink setup wizard as the official shortcut. It is like a built-in guide that helps you step by step. There is no need to be technical expert and you just need to know how to log in.
And the address that you will type into your browser is wifi.wavlink.com. Not .net, not some random IP, but exactly that. Get it wrong and you are stuck. Get it right and suddenly, the wizard comes up.
How to Use the Wavlink Setup Wizard?
Let’s understand this in the following steps:
- Plug it in first – Make sure to look for a spot which is near your main router. Don’t go too far otherwise the setup will fail in between. Once it is plugged then wait for the LEDs to become stable.
- Connect to its signal – On your phone or laptop, go to the WiFi list. You will see the network name something like “Wavlink_XXXX.” Connect to that. No internet and this is completely normal.
- Open the browser – This is the part people get confused. You must type wifi.wavlink.com into the address bar and not into Google search bar. Once you do, the setup wizard shows up.
- Follow the prompts – The Wavlink setup wizard will ask for your existing WiFi details. Make sure to enter your SSID (your home WiFi name) and password with lot of care. Double-check these details as one wrong character will result in the failure of complete setup.
- Save and reboot – The device will restart. Once it comes back on, you have to connect your phone or laptop to the new extended WiFi signal.
That is literally all it takes when you do it right. But if you are doing it in a rush then you may probably make mistakes such as typing the wrong password, skipping the reboot or placing it too far from the router.
Problems You Might Hit (and Fixes That Work)
Now, it is obvious that even with a wizard, tech doesn’t always work properly. Here are the common issues that people usually face:
- wifi.wavlink.com not opening – This is one of the most common problem. To solve this issue make sure that you are connected to the Wavlink’s WiFi and not your regular home network. If it still doesn’t load, clear your browser cache or switch to another browser.
- Setup won’t save – Almost always this means you typed the WiFi password wrong. Start over, type slowly and double-check the capitalization.
- Extender keeps dropping connection – This usually happens when you place it too far from the router during setup. Move it closer, run the Wavlink setup again and then relocate once it is working.
- All lights blinking weirdly – If it is a situation then go for a reset. There is a tiny reset button or pinhole and you have to press and hold for 10–15 seconds until the lights flash. Then start fresh.
These are things which will solve your problems easily.
Last Words
The wizard is not perfect but it is a lifesaver compared to manual setup. Typing wifi.wavlink.com and following the on-screen steps is very easy then using the random IP addresses or guessing menus. Once you run the Wavlink setup properly, you are done. You will have a stronger wifi, better coverage and very few dead spots. There is no need to overcomplicate it. Just follow the simple wizard steps and it will work effectively.