In today’s fast-paced world, where nearly everything depends on a reliable internet connection starting from work calls to streaming movies then WiFi dead zones can be incredibly frustrating. This is where Wavlink range extenders come in existence. It is small, affordable and is designed with the aim to boost your existing WiFi signal and ensuring that every room in your house gets reliable internet coverage.
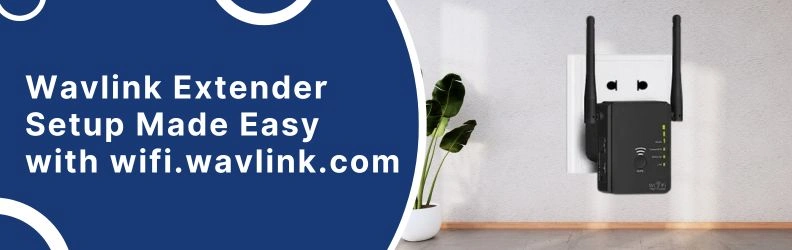
In this guide, we will be focusing specifically on how to perform a Wavlink range extender setup by using the official web interface https://wavlink-wifi.net/: wifi.wavlink.com.
Let’s get into it.
What You will Need Before Setup
First of all make sure to have these essentials:
- Active WiFi network (from your main router)
- The Wavlink range extender plugged into a working power socket
- A phone, tablet or computer with WiFi connectivity
- Web browser access to wifi.wavlink.com
Also, it is advisable to do setup in the best to do setup in the same room where your main router is that to just during the setup. You can place the extender to an ideal spot later on.
Step-by-Step: Wavlink Range Extender Setup using wifi.wavlink.com
Here is a step by step guide:
1. Plug It In
Locate your Wavlink extender near the main router and power it on. You should wait until the power LED turns to solid.
2. Connect to the Extender
Visit the wifi setting son your phone or laptop and look for the network named something like Wavlink-N or something similar.
3. Open wifi.wavlink.com
Now after connecting make sure to go to the browser and enter wifi.wavlink.com in the address bar. There is no need to add “http” or “www: either just enter it directly. If the page refuses to load then you can try with the IP address 192.168.10.1 instead.
4. Login Page
This will land you to the Wavlink login page. Now enter the login credentials both the username and password are admin by default. After that hit the login.
5. Choose Setup Mode
Select “Repeater” or “Extender” mode depending on what shows up. This lets the device boost your router’s WiFi.
6. Scan and Select Your Network
The extender will search for nearby WiFi networks. You have to select your home network (the one you want to extend) and then enter your WiFi password.
7. Finish and Reboot
Click “Apply” or “Connect” and give it a minute. Once done, the extender will reboot and the LED should turn solid or blinking depending on model.
Now you are good to go.
Common Problems & Their Fixes
Problem 1: Can’t access wifi.wavlink.com?
It is usually a local connection issue. Make sure that you are connected with Wavlink extender’s network and not with your home wifi.
Problem 2: Password error during setup?
Verify your home wifi password. Even if a single letter or space is wrong, the extender will not be able to connect.
Problem 3: Still no internet even after setup?
Sometimes the extender connects to the wrong band (2.4GHz or 5GHz). Try to reload the Wavlink range extender setup and manually select the correct band your router uses.
Problem 4: The LEDs are confusing
Refer to your extender’s manual. But in most cases:
- Solid means connected
- Blinking means setting up
- Off means no power or poor connection
Placement Tips For an Extender
Once your Wavlink range extender setup is complete, placement is the key.
- The extender is not to be placed far from router as it will not catch proper signals from router.
- Do not place the extender behind the thick walls, microwaves or cordless phones in the area.
- A central hallway or room just outside the router’s range is usually the ideal spot.
Tip: If the signal LED is red or off then move the extender closer to the router.
Final Thoughts
The Wavlink range extender setup process is completely beginner-friendly as long as you take it slow and follow the steps at wifi.wavlink.com. If you have been struggling with bad WiFi in certain corners of your home, don’t worry. Give your Wavlink extender a shot just make sure you actually set it up right. Stay connected.